

Dust-Free Swabs: Technical Specifications, Applications, and Selection Guide
| Category | Details |
|---|---|
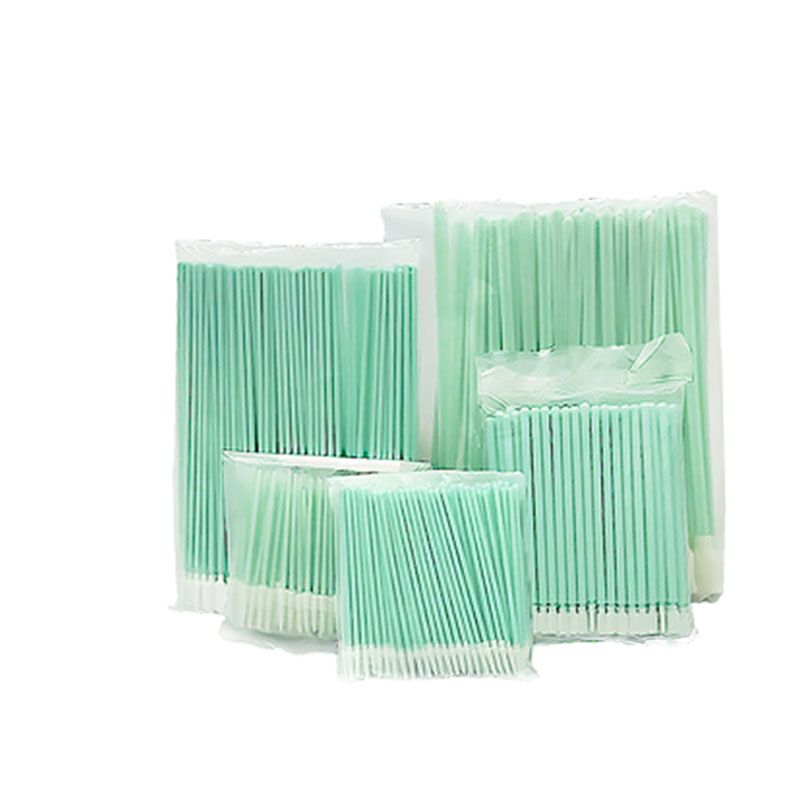
| Core Definition | Swabs manufactured in a controlled cleanroom environment to minimize the release of particles and fibers. The key feature is low-lint and low-dust generation. |
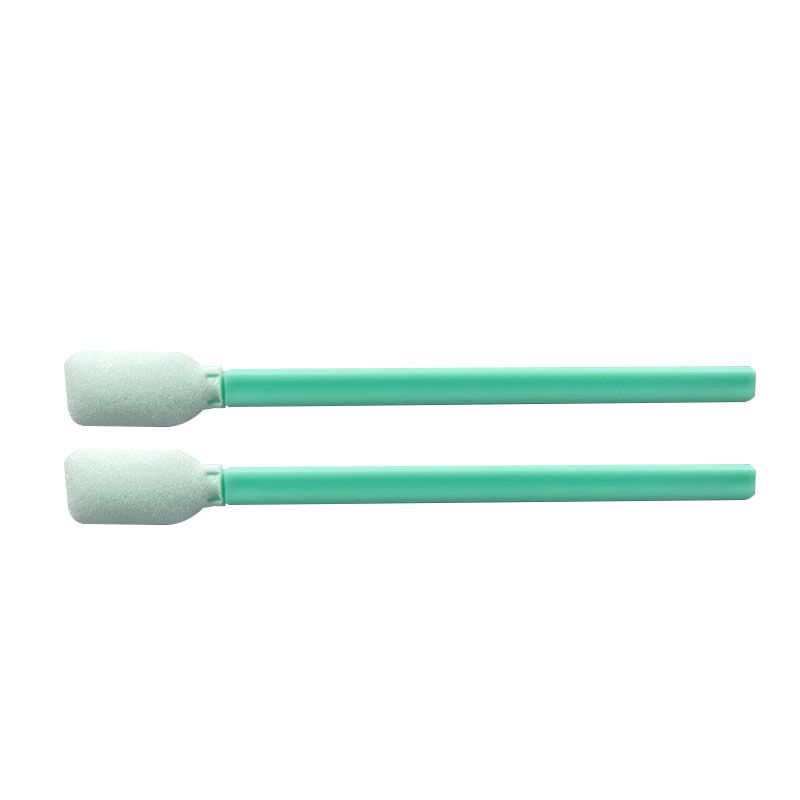
| Primary Materials | Tip: Microfiber (polyester, nylon), high-purity medical cotton, foam (polyurethane, cellulose acetate). Shaft: Plastic (polypropylene PP), wood, paper. Plastic is most common for being lint-free and break-resistant. |
| Cleanliness Class | Classified per ISO 14644-1 (e.g., ISO Class 5 / Class 100) or Fed Std 209E. Packaged in cleanroom conditions to maintain certification. |
| Key Features | 1. Low Particulate: Minimal fiber and dust shedding. 2. Low Chemical Residue: Options with non-ionic, silicone-free, and plasticizer-free materials. 3. High Absorbency: Effective liquid and particle retention, especially with microfiber. 4. Solvent Compatibility: Resistant to common solvents like IPA and acetone. |
| Common Tip Shapes | Pointed Tip: Precision cleaning for gaps and contacts. Round Tip: General-purpose wiping. Flat Tip: Even pressure for flat surfaces. Swirled / Specialty Tips: For holes, threads, or specific applications. |
| Core Applications | 1. Electronics & Semiconductors: Cleaning sensitive components, PCB assemblies, optical lenses, connectors. 2. Medical & Biotechnology: Medical device cleaning, wound care, laboratory sample handling. 3. Precision Manufacturing & Optics: Cleaning instrument parts, lenses, sensors. 4. Automotive & Aerospace: Fuel system components, sensitive sensors, control units. |
Product Application Guide
Successful application of dust-free swabs relies on a methodical approach to selection, handling, and technique. Follow this step-by-step guide to ensure optimal performance and contamination control:

Selection & Preparation
Step 1: Define the Task. Identify the primary goal: removal of particulate, application of solvent, or absorption of fluid. Determine the surface type (flat, curved, crevice).
Step 2: Match the Swab. Select the appropriate tip material (e.g., microfiber for fine particles, solvent-resistant foam for aggressive chemicals) and shape (flat for surfaces, pointed for tight spaces) based on your task analysis. Verify its cleanliness rating meets or exceeds your workspace requirements.
Step 3: Prepare the Environment. If possible, perform the task in a controlled area (e.g., laminar flow hood, clean bench). Open the swab package just before use to minimize airborne contamination.
Step 4: Apply Solvent (if required). For cleaning, apply a few drops of the compatible solvent (e.g., IPA) to the swab tip. Avoid oversaturation, which can cause drips and re-deposit contaminants.
Step 5: Execute the Wipe.
Use a gentle, overlapping stroke method. Apply light to moderate pressure.
Roll the swab as you wipe to present a clean surface of the tip to the workpiece, preventing re-contamination.
For critical surfaces, use a “one-way, one-pass” rule: wipe in one direction only and discard the swab after a single pass.
Step 6: Immediate Disposal. After use, immediately place the used swab into a waste container for contaminated materials. Never reuse a swab, even on the same component.