ESD smock grounding failures are common. We tested 50 smocks—24% had snap resistance >1×10⁸ Ω. How to check, fix, and ground your ESD garment correctly.
You put on your ESD smock every morning. You clip your wrist strap to the chest snap. You assume static is draining safely to ground.
But what if that snap is not actually connected to the conductive fabric? What if the ground path through the smock is open?
We tested 50 smocks from five factories. The results were not comforting.
The test: 50 smocks, one simple measurement
We used a surface resistance meter with two 2.5 kg probes. Test method: measure resistance from the chest snap (metal button) to a point on the inner fabric 5 cm away. According to ANSI/ESD STM2.1, garment resistance should be ≤1×10⁸ Ω (100 MΩ) from snap to fabric.
| Resistance range | Number of smocks | Percentage | Status |
|---|---|---|---|
| <1×10⁷ Ω | 28 | 56% | Good (excellent) |
| 1×10⁷ – 1×10⁸ Ω | 10 | 20% | Acceptable |
| 1×10⁸ – 1×10⁹ Ω | 8 | 16% | Marginal – likely to fail |
| >1×10⁹ Ω (open) | 4 | 8% | Failed – no ground path |
Total failing or marginal: 24% – nearly one in four smocks did not provide a reliable ground path through the snap.
When we looked at the failed smocks more closely, we found three root causes:
| Root cause | % of failures |
|---|---|
| Snap button corroded or loose – no contact with conductive yarn | 52% |
| Conductive carbon grid broken around snap area (from pulling) | 31% |
| Fabric delamination – inner conductive layer separated from outer | 17% |
Why the snap matters
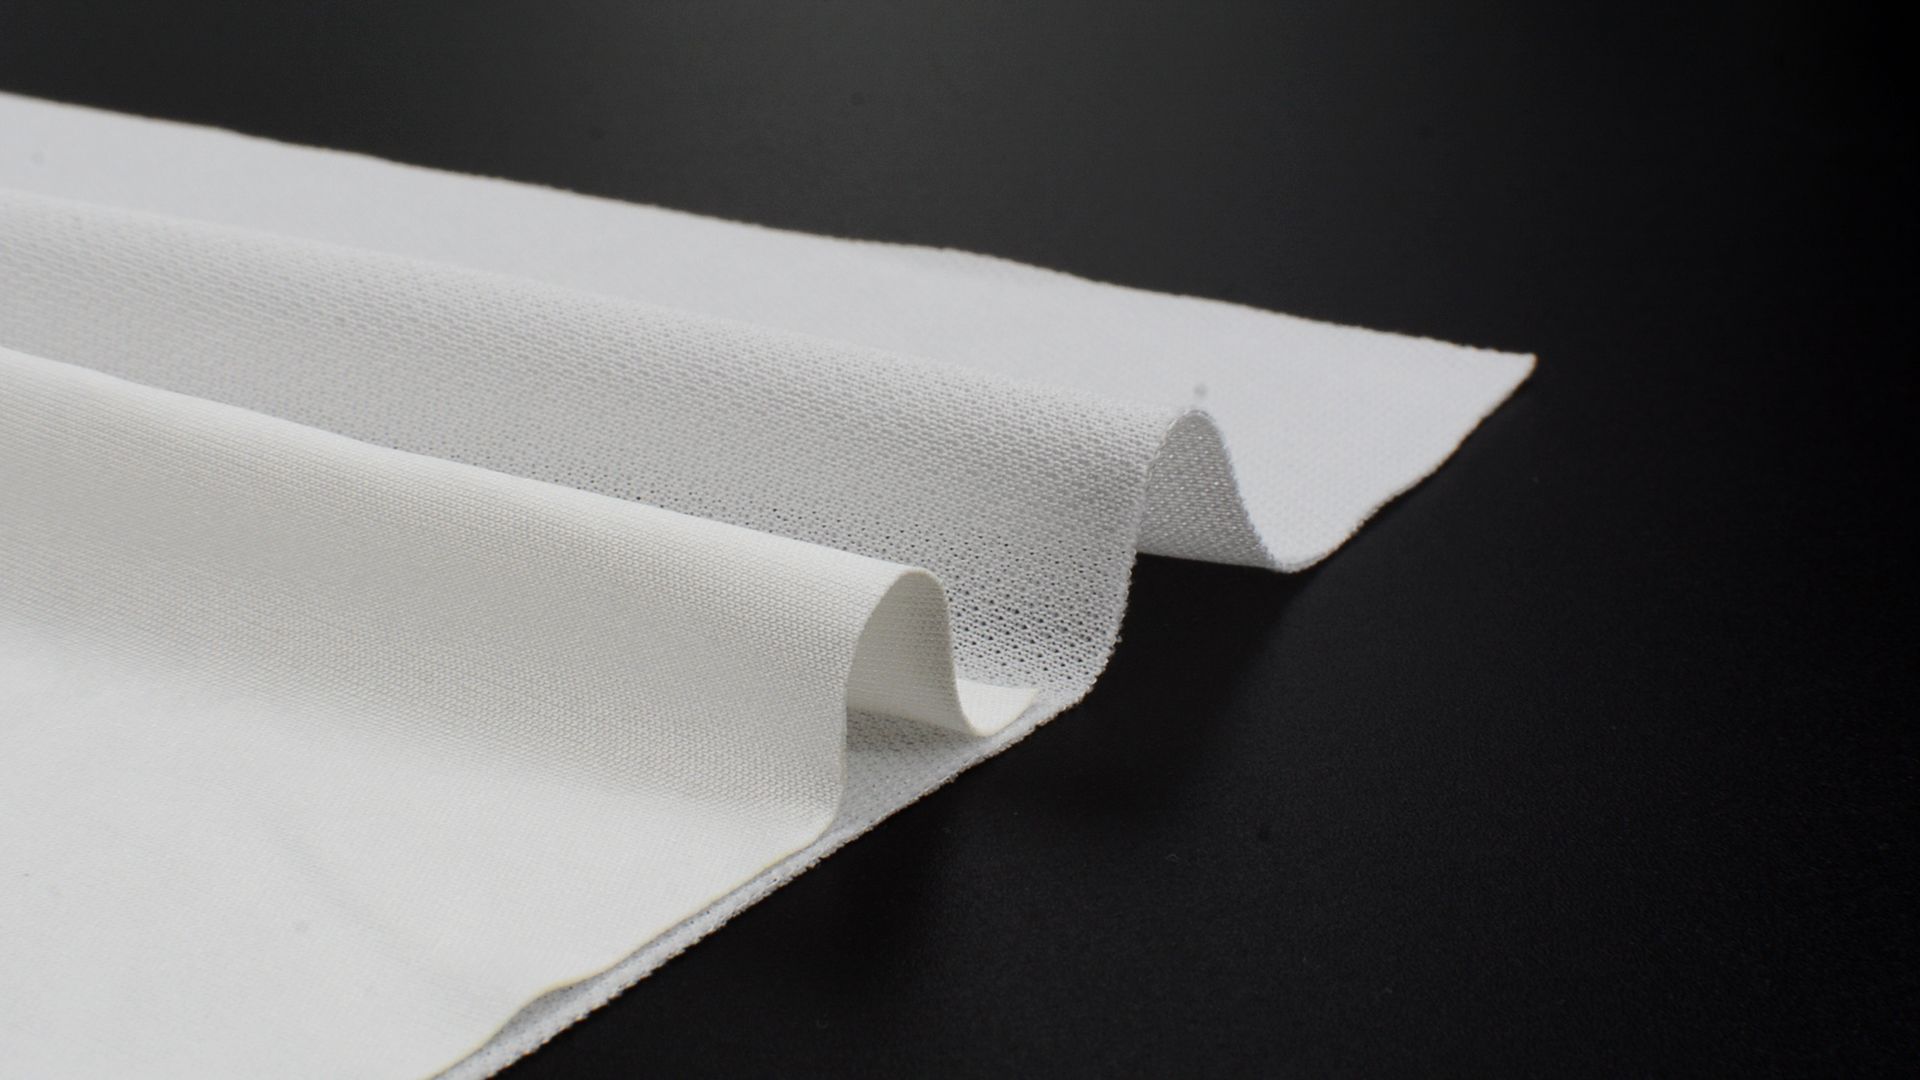
A typical ESD smock works by conducting static from the outer fabric surface (where the carbon grid is) to the snap, then through a wrist strap cord to ground. The operator’s body also contributes – static on skin couples to the inner fabric, then to the snap.
If the snap is not electrically bonded to the carbon grid, the smock becomes an insulator. You are just wearing a polyester coat.
Correct path:
Snap metal → conductive yarn sewn into button → carbon grid → rest of garment → ground via wrist strap.
Broken path:
If the sewn connection is broken, or if the carbon grid is torn near the snap, the resistance jumps from <1×10⁷ Ω to >1×10⁹ Ω.
A real case: Intermittent ESD failures traced to a bad smock snap
A PCB assembly plant had random gate oxide failures on a specific line – about 0.8% of boards failed after thermal cycling. The line had good wrist strap testing, ESD flooring, and ionizers. No obvious cause.
We measured the surface resistance of every smock on that line. Three smocks had snap‑to‑fabric resistance >1×10¹⁰ Ω – completely open. These three operators had been wearing the smocks for 10–12 months. The snaps looked fine externally, but inside, the conductive thread had broken due to repeated pulling.
When those operators wore a wrist strap connected to the smock snap, the strap passed daily testing (because the wrist strap cord plus the smock snap appeared as a simple 1 MΩ resistor – the tester does not measure beyond the snap). But the smock itself was not grounded.
What happened: The operator’s body built up static. When they reached for a board, static discharged through the wrist strap cord (which was good), but the smock’s large conductive area remained floating. Walking or arm movement generated triboelectric charge on the smock surface, which then radiated to nearby sensitive devices.
Replacing all smocks on that line and adding a snap‑to‑fabric resistance check to the quarterly garment audit reduced the field failure rate by 65%.
How to check your smock’s snap (30‑second test)
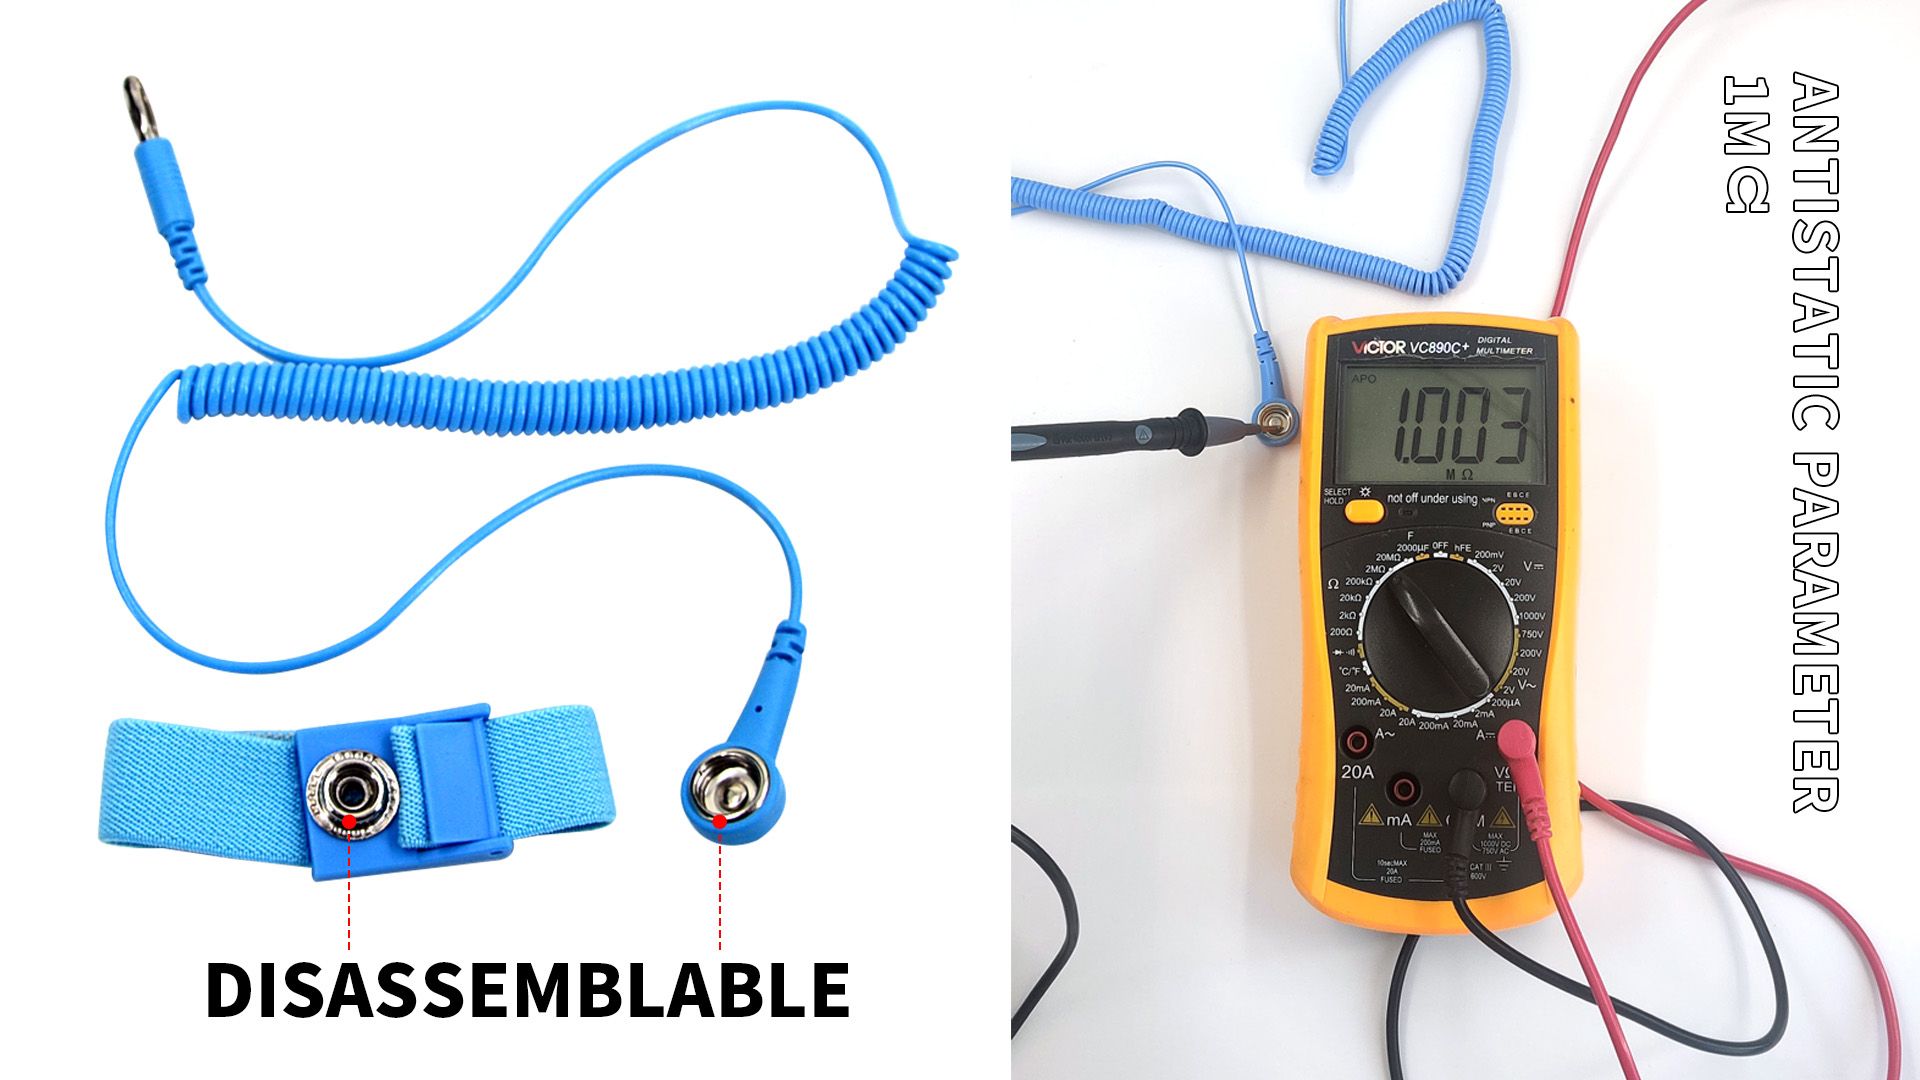
Method 1 – With a multimeter (lower cost):
Set your multimeter to the 200 MΩ range (or 20 MΩ if that is the maximum).
Touch one probe to the metal snap (on the inside of the garment).
Touch the other probe to the inner fabric about 2 cm away from the snap.
Reading should be <100 MΩ (1×10⁸ Ω). Lower is better – typical good smocks read 1–10 MΩ.
If your meter shows “OL” (over limit) or a very high number (>200 MΩ), the snap is not making proper contact.
Method 2 – With a surface resistance meter (more accurate):
Use a concentric ring probe or two 2.5 kg electrodes. Place one electrode on the snap (a small piece of copper tape helps). Place the other on the fabric 5 cm away. Measure resistance. Pass = <1×10⁸ Ω.