Buying a good cleanroom wipe does not automatically mean your surfaces will be clean. The wiping technique matters—even the most expensive wipe will make things worse if used incorrectly. Below we break down the standard precision wiping process into seven practical steps.
Step 1: Prepare the environment and tools
Work in a cleanroom or at least a dust‑controlled area. First check that the wipe packaging is intact. If the sealed bag is damaged or has been open for more than 30 minutes, the inner wipes may have already adsorbed airborne particles – do not use them.
Also prepare high‑purity solvent (99.9% IPA or a dedicated cleaning solution). Do not use ordinary alcohol – its impurities and water content will leave residues and water spots.
Step 2: Remove and fold the wipe
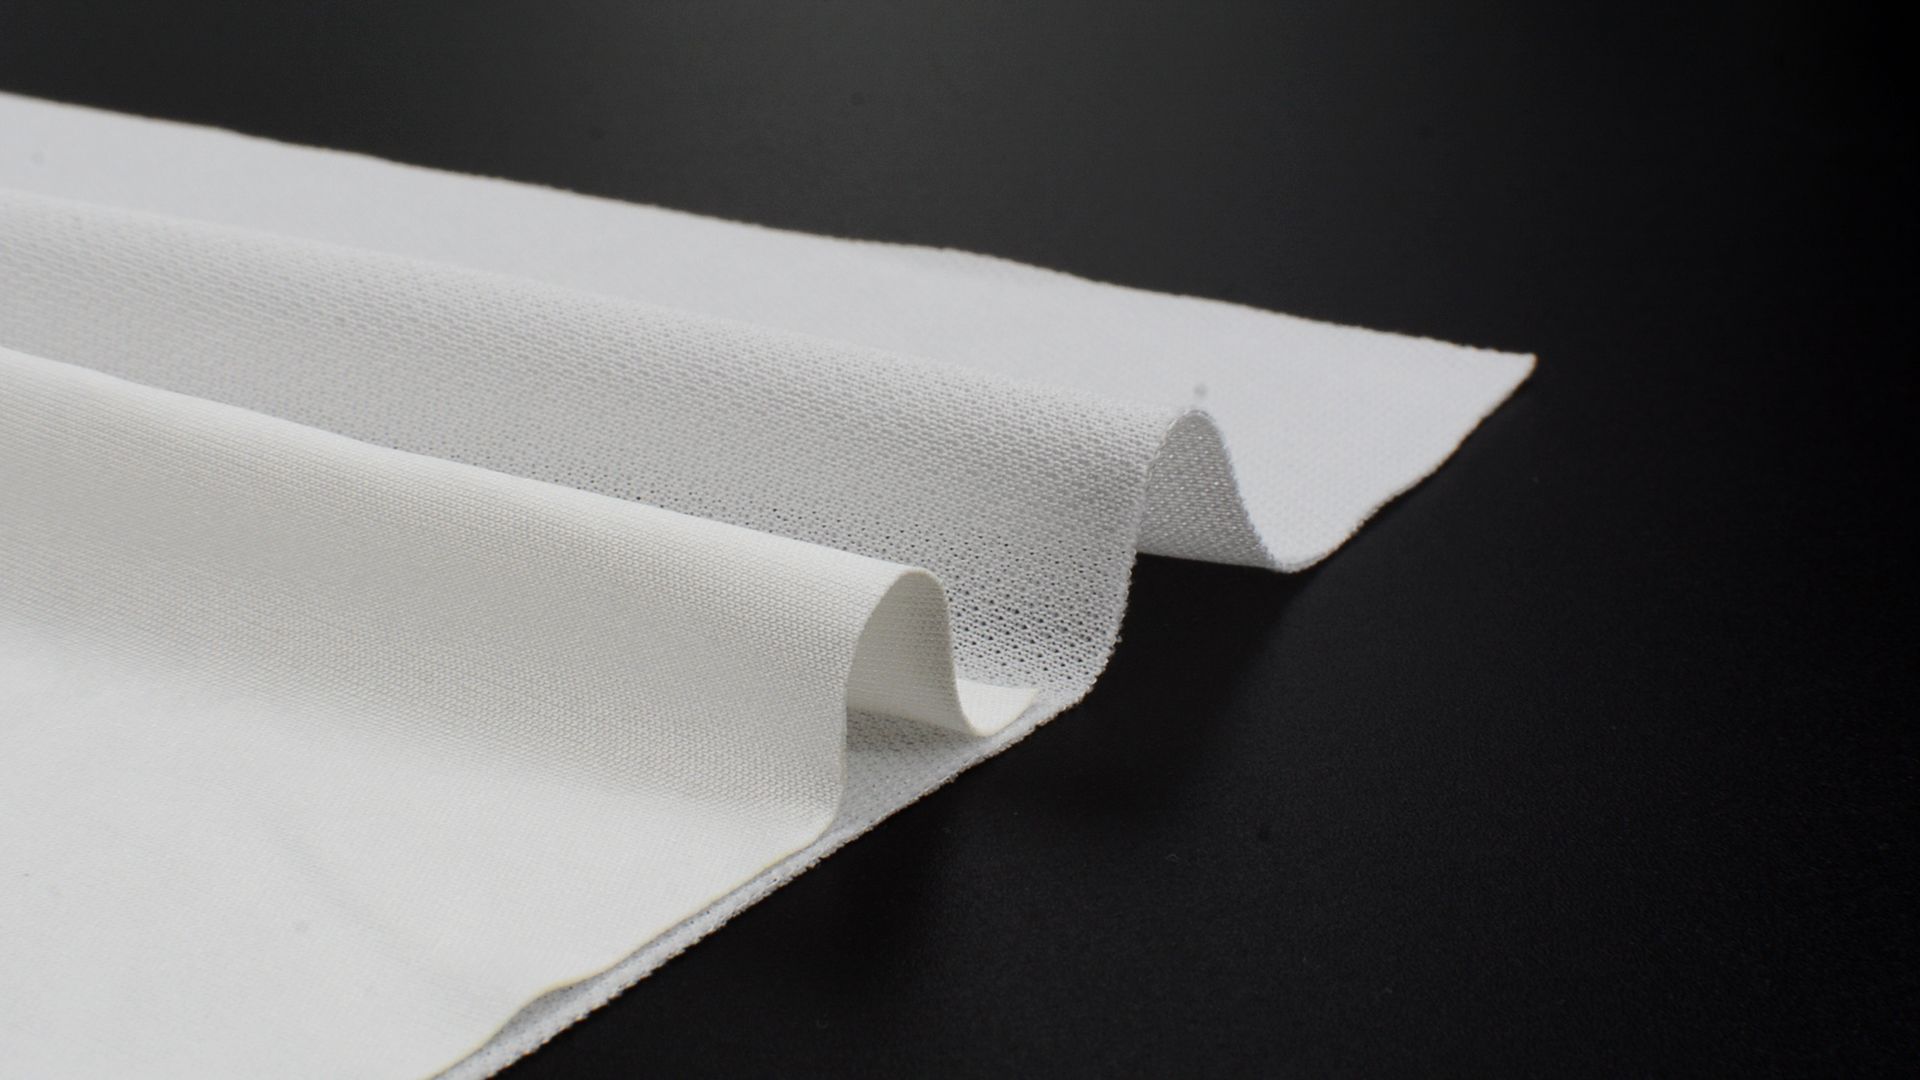
Take one wipe from the sealed bag. Do not touch the centre of the wipe – only handle the edges. Spread the wipe, fold it in half, then fold in half again to create a small square of four layers. Each side gives you a clean wiping surface.
Why folding matters : Each fold gives you one more “clean side”. Start with the outermost side; when it becomes dirty, unfold to expose the next clean side. One wipe can give you 4–6 usable surfaces.
Step 3: Dry wipe (remove loose particles)
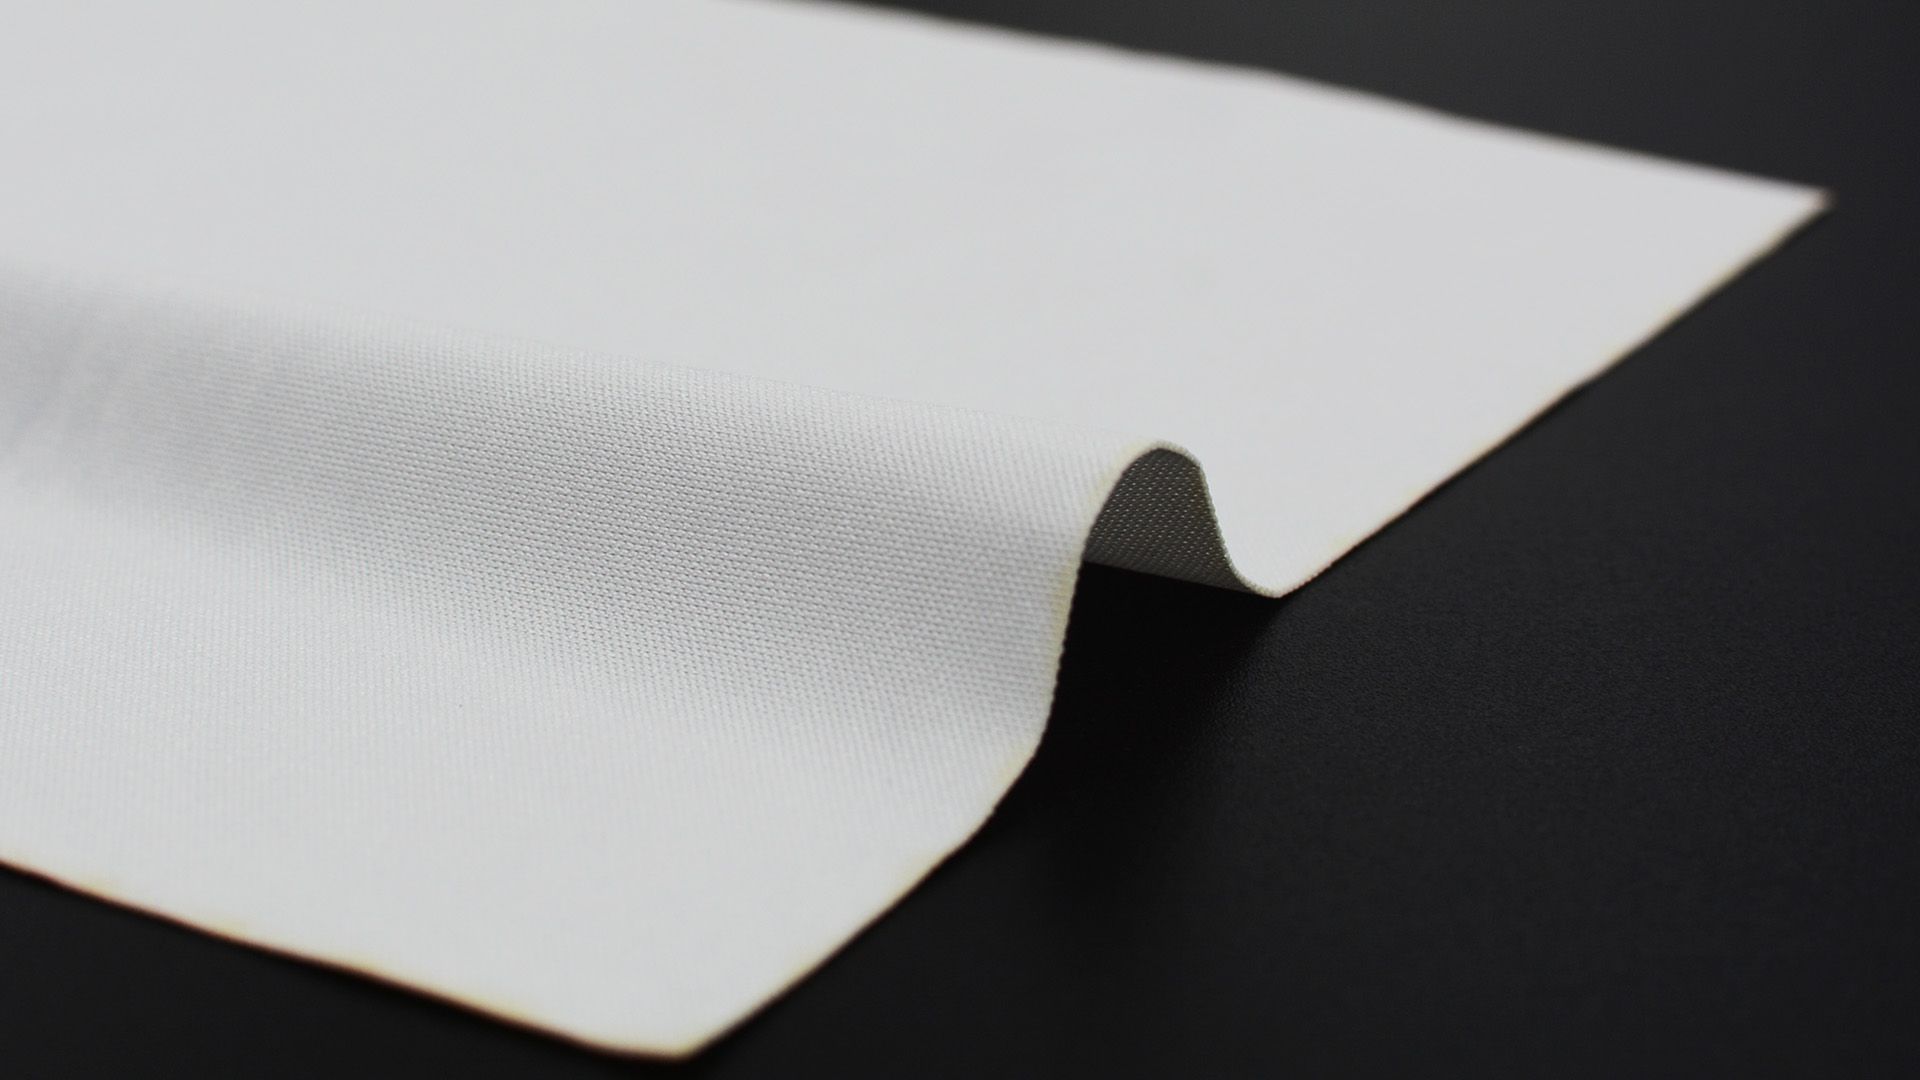
Before applying any solvent, gently sweep the surface in one direction once or twice with the folded wipe. The goal is to remove loose dust and particles. One direction only – do not scrub back and forth. Scrubbing back and forth can re‑deposit captured particles onto the surface.
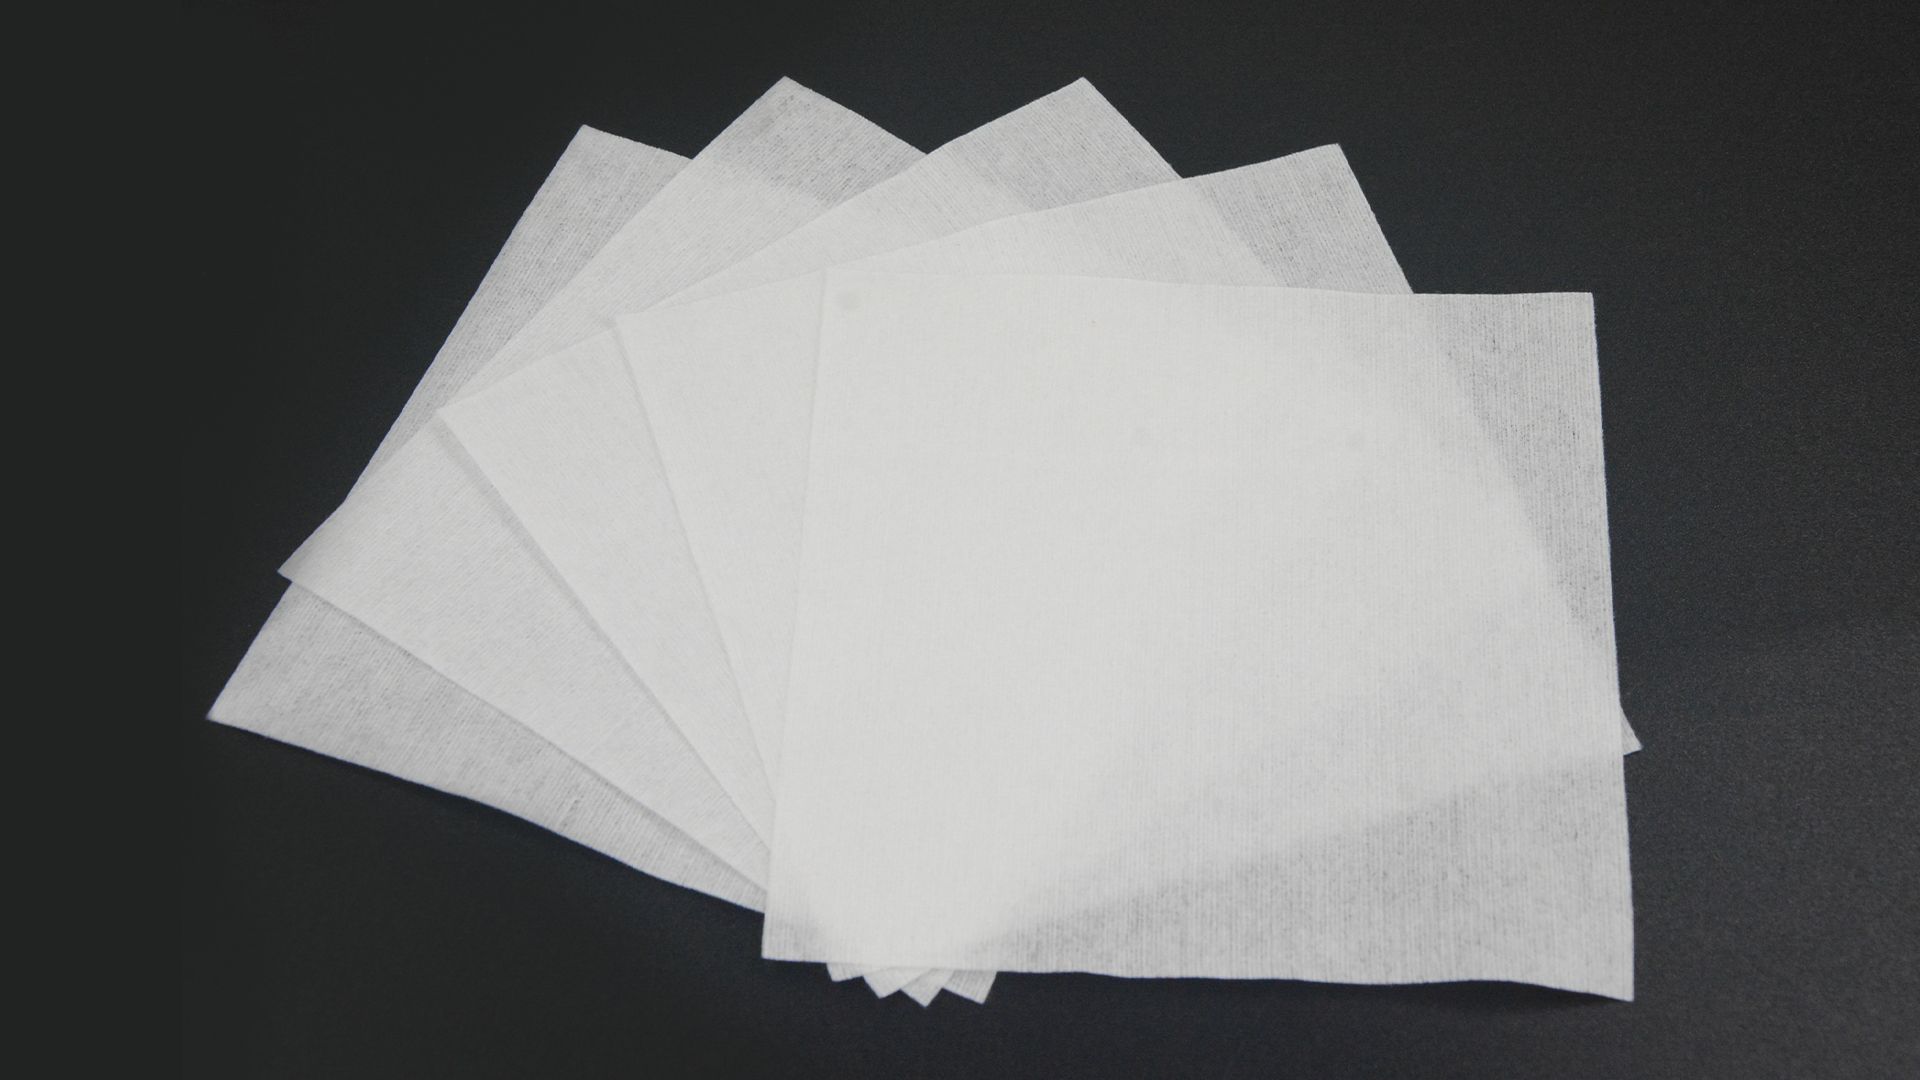
According to the fibre analysis section of IEST-RP-CC004.4, a cleanroom wipe should not release large fibres that could clog device orifices. During dry wiping you should not see visible lint.
Step 4: Single‑direction wiping (the most critical step)
Using the wetted wipe, start at one end of the surface and move in one direction (A→B) slowly, overlapping each pass by 10–30%.
Why not back‑and‑forth? When you go back and forth, contaminants already captured on the wipe can be released back onto the surface, causing cross‑contamination. The Helmke drum test simulates dry‑state movement and uses an airborne particle counter to assess particle release risk – and single‑direction wiping minimises that risk.
After completing one pass, unfold the wipe to a fresh side and continue the next pass. A four‑fold wipe typically gives 4–6 usable surfaces.
The standard requires a mass loss of <0.03% after 100 rubbing cycles with a 500 g load. If a wipe visibly sheds fibres after only a few wipes, its fibre loss rate is unacceptable.
Step 6: Final inspection
After wiping, inspect the surface under oblique bright light (or a dedicated inspection lamp) to confirm no water spots, no particles and no fibres. If you see obvious contamination, repeat steps 3–6.
For extremely demanding surfaces such as optical lenses, do a final light sweep with a dry wipe to absorb any remaining solvent. Using the right wipe + using the right technique – both are essential
| Operation | Wrong practice | Correct practice | Reason |
|---|---|---|---|
| Removing wipe | Touching centre of wipe | Handle only edges | Avoid transferring skin oil and particles |
| Wetting | Spray directly on equipment | Spray on wipe first | Prevent liquid from entering equipment gaps |
| Folding | No fold, use as is | Four‑fold method | More clean sides, fewer changes |
| Wiping direction | Back and forth | One direction (A→B) | Prevent re‑deposition of contaminants |
| Wipe path | Random, overlapping uncontrolled | Systematic, 10–30% overlap | Ensure full coverage without gaps |
Correct wiping requires not only a good wipe but also a disciplined procedure. A mistake in any of the seven steps can ruin the whole cleaning effort.